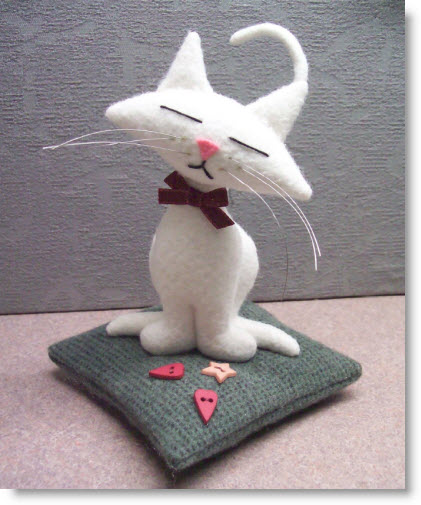
This is the cutest Kitty Kat Pincushion! Anyone would love to receive this as a gift for any occasion. They do not have to be sewers; we all have pins of one kind or another. This comes from “doll maker’s journey” by: By Sue Daniel and you have two downloads as follows: Download Project Directions in PDF – Click Here! Download Project Pattern in PDF – Click Here!
Comments
Have you read?
Waffa Birds from Living Felt! A Colourful and Free Tutorial!

Got some free time over the holidays? I think you might just love these colourful birds that you can create, give, share and learn excellent techniques from! Named Waffa Birds or (Wild and Free Fiber Art) Birds these little … Read More ...


Donde estan los moldes? el patrón? gracias
Where are the moulds? the pattern? Thank you was your question. I will email them to you.
You can click on the Here’s to get them in PDF 🙂
Cannot open the links for the patterns. The links do not work. How else can I get them?
Too cute! Thanks for sharing!
All the links work from here, click and wait a second because they bring up a PDF file 🙂
Very cute, can’t wait to make one. If you can’t open the .pdf, try right clicking on the “click here” link, then save it on your computer, then open it. This worked for me.
Where are lines for cutting before turning right side?
just leave enough for the seam 🙂
I can download but there are no marks for openings to turn?
The cut lines are explained on the directions: Sew on the marked lines at approximately 12 stitches/inch. Back stitch at the beginning and end
of all lines of sewing. Do not leave an opening on the head, body front, or body back. Leave
open where indicated on the ears and tail. Cut out each pattern piece leaving a 1/8th-inch seam
allowance. Cut along the lines for the openings on the ears and tail, .
Cut openings in the head, body front, and body back as indicated on the pattern. Make the cut
through one side only. Using turning tools, turn the cat’s body pieces, head, tail, and ears right
side out. Be sure to smooth out all the seams and push out the points as much as possible.
Because felt is thick and stiff, this turning part might prove to be a bit trying. Small finger
turning tools are helpful.
TY for sharing this lovely projet!