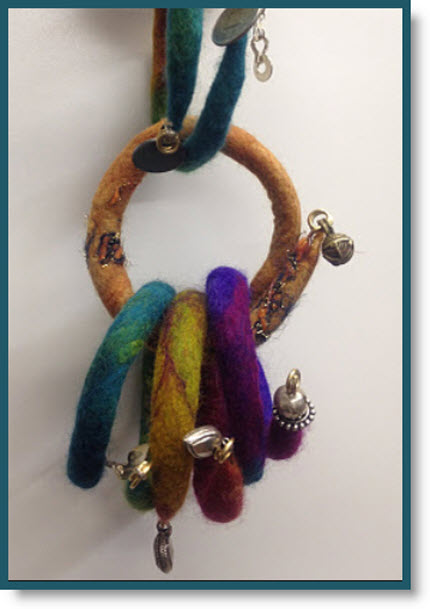
 Arlene “Arlenesfelt” has the most spectacular “Flexible Felt Bracelets” and she did offer instructions below because her fans wanted to know how to make them. These bracelets are so fabulous in there jewel tone colors and I am going to try one. Visit “Arlenesfelt” and see all her lovely felted items, too pretty. Thanks Arlene for sharing your experience with us.
Make a wire/felt bracelet! By: Arlene, OK, here it is in condensed form.
14 or 16 gauge copper or brass wire. Cut in a 10″-12″ or so straight piece.
Roving: split in half lengthwise, maybe half again. Lightly draft the wool as you wrap it snugly around the wire, and itself, until it is the thickness you would like. Add a little water on the ends to hold down the wisps. Once you have wrapped the wire you set it all gently in a pan of very warm soapy water, holding it in your hands. Gently at first squeeze and roll. The piece will develop a sort of skin and then you can go to town rolling and hardening the felt. I roll on a rubber groovy mat and the sharp grooves felt the ropes up fast and firm. But there are other surfaces to use as rubbing mat. The bracelet is very easy to make and people love them as gifts. After you make the first one you will know how long you like your wire and how much wool to wrap onto the wire, how it shrinks, and how you wish to finish the ends. Ends: You can leave the unwrapped wire ends long enough to add a bead and create a stopper or make a coil or loop at each end, maybe hang a charm of some sort from the coil or loop. Or you can cover the wire completely and taper the ends. Get creative! Finishing: Rinse in clean water, squeeze out soap, and let it soak in a vinegar and water bath for 15 minutes or so. Squeeze out the water. Then roll it lightly on a towel to tame the roll. Wearing: Bend the bracelet in a circle to rest around your wrist comfortably. Press gently at the top and the bottom of your wrist to create a slight oval, and the bracelet stays in place!

Leave a Reply