• Home
  • Suggest A DIY
  • DIY Newsletter

Felting

Patterns, projects and techniques

  • About CraftGossip
  • Our Network
    • Bath & Body Crafts
    • Candle Making Ideas
    • Crochet Ideas
    • Cross Stitch
    • Edible Crafts
    • Felting Patterns
    • Glass Art
    • Home & Garden Ideas
    • Indie Crafts
    • Jewelry Making
    • Kids Crafts
    • Knitting Patterns
    • Lesson Plans
    • Needlework
    • Party Ideas
    • Polymer Clay
    • Quilting Ideas
    • Recycled Crafts
    • Scrapbooking
    • Sewing Patterns
    • Card Making
    • DIY Weddings
    • Not Craft Ideas
  • Giveaways
  • Roundups
  • Store
  • Search

Free Felted Oven Mitt Pattern!

August 19, 2011 by Linda Lanese

Kris of “Kriskrafter” has this really clever pattern for oven mitts created from up-cycling worn wool sweaters.  These are such a good idea because the sweaters are felted; so you will have no problem keeping them clean because you can throw them in the washer and dryer and you will not have the stuffing come out like the ones purchased at the store.  Template link 🙂

These are super simple to make and people love receiving them as gifts, they also make fabulous Craft Show sellers.  First Cut out the provided pattern pieces A & B, and tape them together as indicated. Next, lay your sweater out smoothly and cut out 4 of the Mitt pattern. If you want the oven mitts to be multiple colors then use more than one sweater. Just make sure that the sweaters are similar in their thickness and stitch count so that they will felt similarly. She likes to use sweaters that are between 4 – 7 stitches per inch. If the sweater is too tightly knit it will not felt very well, if it is knit too loose it is hard to cut out and keep the stitches from unraveling. The way this pattern works is that 2 pieces will be the back of the hand, 2 pieces will be the front of the hand. She uses 2 layers for each so that it felts up nice and thick and offers plenty of protection when pulling out hot items from the oven.


«
»

Have you read?

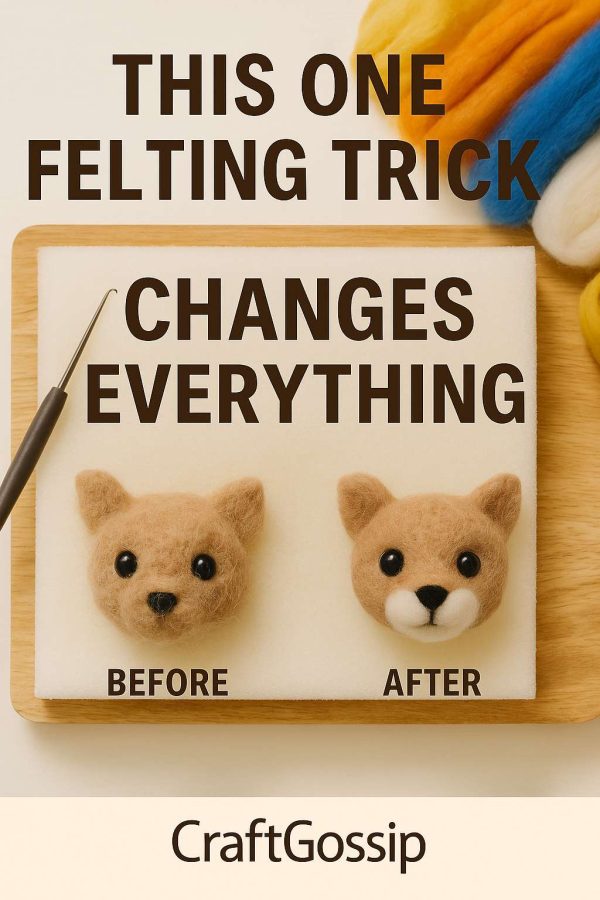
This One Felting Trick Will Make Your Projects Look Instantly More Professional

You know that moment when you step back from a needle felting project and think, “It’s cute, but something’s just… off”? The shape is perfect, the colors are right, but the surface looks fuzzy, uneven, or a bit too “handmade.”… Read More ...

RSS feed: More Articles More Articles

  • Learning about Ghana for Kids
  • Garage Door Halloween Decorations
  • Thrifted Quilt Ghost Decorations for Halloween
  • 12 FREE Cute Ghost Digital Stamps to Download
  • Stitch Up Tons of Cute Patterns with The Pattern Club
  • Book Review: Japanese Temari Handbook by Emi Horie
  • A Shawlette with a Ton of Design Options
  • Woodland Whimsy Fabric Collection by Jennifer Pugh
  • Book Review: Fantasy Crochet by Jess Bertolina – 16 Whimsical Wearable Crochet Patterns
  • 12 Family Scrapbook Layout Ideas for Fall

Pick Your Blog

  • Sewing
  • Knitting
  • Quilting
  • Crochet
  • Home & Garden
  • Recycled Crafts
  • Scrapbooking
  • Card Making
  • Polymer Clay
  • Cross-Stitch
  • Edible Crafts
  • Felting
  • Glass Art
  • Indie Crafts
  • Kids Crafts
  • Jewelry Making
  • Lesson Plans
  • Needlework
  • Bath & Body
  • Party Ideas
  • Candle Making
  • DIY Weddings
  • Not Craft
  • Free Craft Projects

Copyright © 2026 · CraftGossip | Start Here | Contact Us | Link to Us | Your Editors | Privacy and affiliate policy