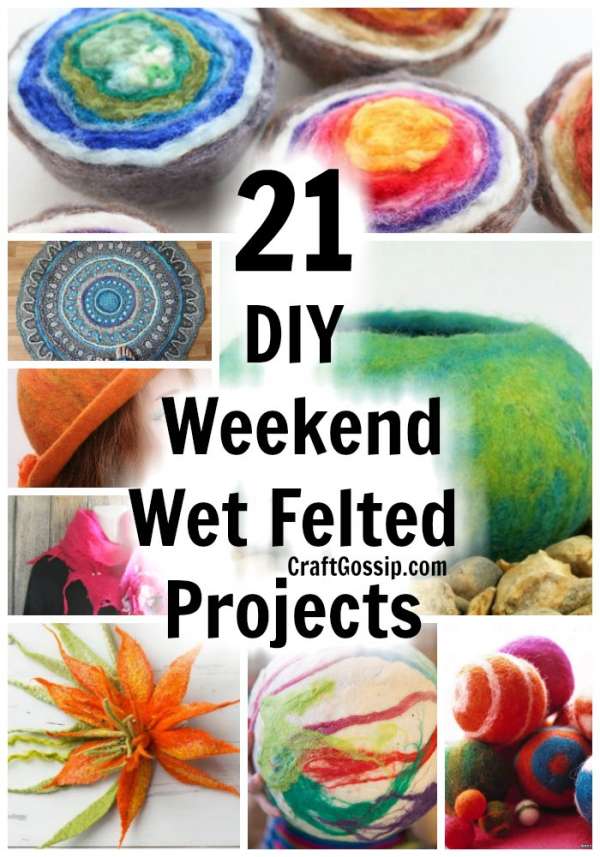
Felting is a versatile and creative craft that has been around for centuries. It involves the process of interlocking fibers together to create a dense and matted fabric. While there are several ways to felt, wet felting is one of the easiest and most popular techniques. In wet felting, wool fibers are saturated with warm water and soap, then manipulated until they bond together to form a solid piece of felt.
One of the best things about wet felting is that it’s accessible to crafters of all ages and skill levels. Whether you’re a beginner or an experienced felter, there are plenty of projects you can complete in just a weekend. And with the wide range of colors and textures available in wool roving, the possibilities for creativity are endless.
One fun project that you can complete using wet felting is making felted pebbles. These are small, textured balls of felt that can be used to fill a felted bowl or simply displayed as decorative items on their own. To make felted pebbles, you’ll need wool roving in a variety of colors, warm water, soap, and a little bit of patience. By rolling and manipulating the fibers in your hands, you’ll create small balls of felt that are both soft and durable.
Another popular wet felting project is making felted slippers. These cozy and comfortable footwear options are perfect for lounging around the house or even wearing outside on a cool day. Using a combination of wet felting and hand-sewing techniques, you can create a pair of slippers that are custom-fit to your feet and will last for years to come. And with so many different colors and styles of wool roving available, you can customize your slippers to match your personal style.
Wet felting is also a great summer craft because it doesn’t require any special equipment or tools. All you need is some wool roving, warm water, and soap, and you can create beautiful and functional items without worrying about getting too hot or sweaty. And because wet felting is a tactile and hands-on craft, it’s a great way to unwind and relax after a long day.
Wet felting is a wonderful and versatile craft that can be enjoyed by anyone. With the wide range of projects that can be completed using this technique, there’s something for everyone to enjoy. So why not try your hand at wet felting this weekend and see what kind of creative and beautiful items you can create?
An Experiment in Wet Felting – Felt Geodes
Felting Tutorial – how to make a wet felted pod or vessel
Kleas: Tutorial-Felting with Kids
Wet Felting Tutorial for Beginners
Hand-felted Cobweb Scarf — CraftBits.com
Wet Felting a Spiky Flower Tutorial
How To Make Wet Felted Rocks :: Needle Felting Tutorial
Wet Felted Bird’s Nest Tutorial
Wet Felting Tutorial, How to make Sparkling Wet Felted Christmas Bauble / Ball Tutorial
How to Make a Wet Felted Cat / Kitten Cave/ a Free Tutorial
Wet Felted Slippers : 12 Steps (with Pictures)
How to make a wet-felted beret
Advanced Tutorial: Wet Felting a 3D Bunny Part 2
How to Make Wet Felted Gloves With Fingers
How to Make Wet Felted Slippers Using Duct Tape Shoe Lasts
How to Use a Resist Shape to Make a Wet Felted Hat
How to Make a Wet Felted Lantern For Winter Solstice – Backwoods Mama
As a seasoned wet felter, I’ve learned a lot of tips and tricks over the years to make the process easier and more successful. Here are my personal top 5 tips for wet felting techniques:
Use hot, soapy water: The key to successful wet felting is to use hot water and good soap. The hot water helps to open up the wool fibers and the soap helps them to bind together. I recommend using a mild soap like dish soap or a specialty felting soap.
Start small: If you’re new to wet felting, start with a small project like a felted ball or a coaster. This will give you a chance to practice the technique without feeling overwhelmed. As you gain confidence, you can move on to larger projects like hats and scarves.
Add layers: To create a dense and sturdy piece of felt, you’ll need to add multiple layers of wool. Start with a thin base layer and then add more layers on top. Be sure to alternate the direction of the fibers with each layer to ensure even felting.
Agitate, agitate, agitate: The key to successful wet felting is agitation. This means rubbing, rolling, and squeezing your piece of felt until it’s fully felted. Be prepared to spend some time working on your piece, and don’t be afraid to get a little rough with it!
Rinse and block: Once your piece is fully felted, rinse it thoroughly in cold water to remove any excess soap. Then, shape it into its final form and let it dry completely. This is called blocking, and it’s an important step to ensure that your piece retains its shape and size.