• Home
  • Suggest A DIY
  • DIY Newsletter

Felting

Patterns, projects and techniques

  • About CraftGossip
  • Our Network
    • Bath & Body Crafts
    • Candle Making Ideas
    • Crochet Ideas
    • Cross Stitch
    • Edible Crafts
    • Felting Patterns
    • Glass Art
    • Home & Garden Ideas
    • Indie Crafts
    • Jewelry Making
    • Kids Crafts
    • Knitting Patterns
    • Lesson Plans
    • Needlework
    • Party Ideas
    • Polymer Clay
    • Quilting Ideas
    • Recycled Crafts
    • Scrapbooking
    • Sewing Patterns
    • Card Making
    • DIY Weddings
    • Not Craft Ideas
  • Giveaways
  • Roundups
  • Store
  • Search

Unique Tutorial! Adding Cotter Pin Joints to Needle Felted Sculpts

June 10, 2022 by Liza Adams


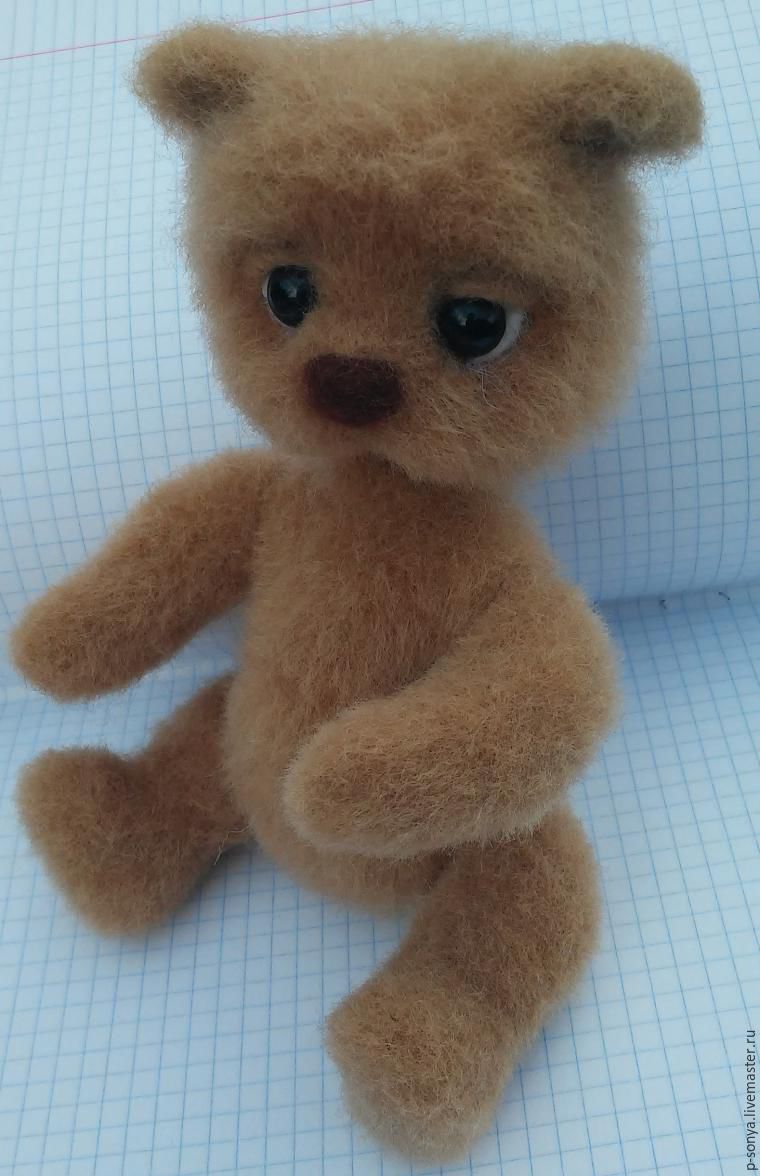
If you have ever made stuffed teddies and other toys, you know that generally speaking, they are jointed together with cotter Pin joints!  (except for those with safety joints for children).  But if you are a needle felter, you probably believe, as I always have, that you can’t use cotter pins on these more solid pieces.  Well we would both be wrong my friend! 🙂

Toy Joints, Wooden Cotter Pin

The very clever Sofia Potapenko of Interior Toys has shared an awesome tutorial on the Master Class website which will pretty much blow your mind!  If you just can’t give up those cotter pins you will be elated to know that you can still use them for your creations!  This is especially valuable for the larger creations you might come up with.  I tend to stick to under 3 inches tall so mine are generally thread jointed!  A larger sculpt is going to be quite heavy and thread jointing wouldn’t be ideal, so it’s great to now know how to use these wooden disks and metal pins to hold your lovingly sculpted pieces together.
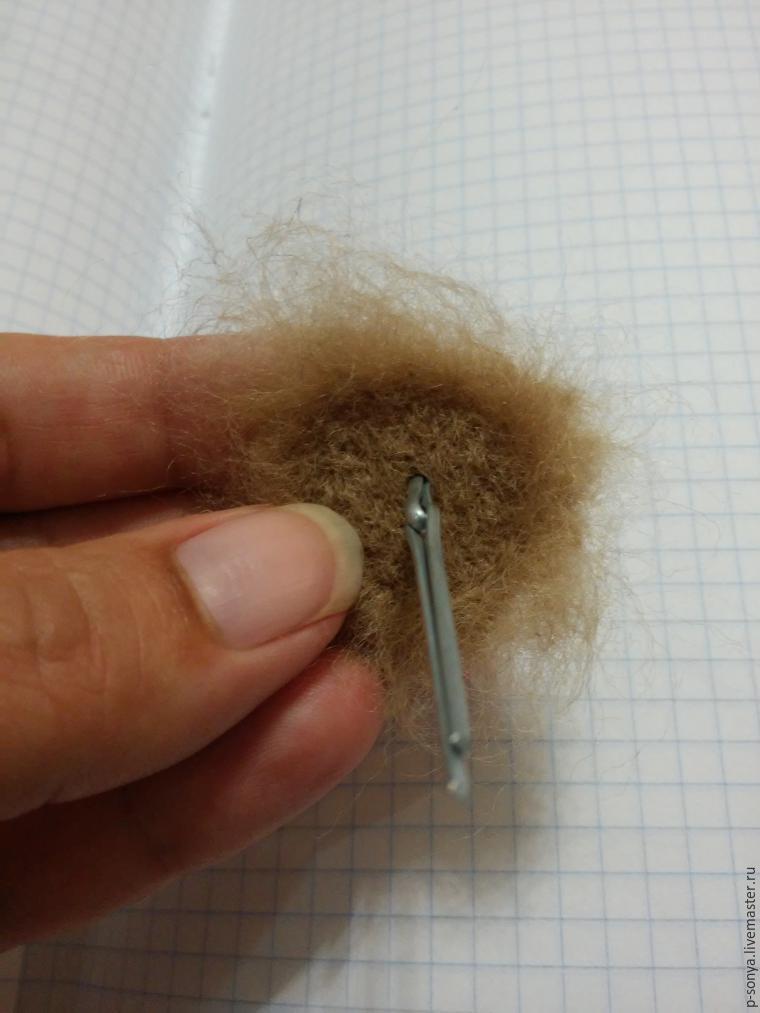
 

You can find this tutorial at the link here and I hope you will enjoy learning how to use these in your work!  Please note this tutorial is in Russian but if you use ‘translate this page’ in your tool bar you can easily follow along.

Happy felting!


«
»

Have you read?

This One Felting Trick Will Make Your Projects Look Instantly More Professional

You know that moment when you step back from a needle felting project and think, “It’s cute, but something’s just… off”? The shape is perfect, the colors are right, but the surface looks fuzzy, uneven, or a bit too “handmade.”… Read More ...

RSS feed: More Articles More Articles

  • Fine Motor Task Cards for Kids
  • How to Make a Light Up Halloween Card
  • Designer Spotlight: Cross Stitch with Art
  • Free Foliage Embroidery Pattern Review
  • Easy Knit Baskets to Use All Your Stash
  • How to Make a Simple Fall Accordion Mini Album
  • Pumpkin Spice Hand Balm for Dry, Overwashed Hands
  • Learning about Ghana for Kids
  • Thrifted Quilt Ghost Decorations for Halloween
  • Garage Door Halloween Decorations

Pick Your Blog

  • Sewing
  • Knitting
  • Quilting
  • Crochet
  • Home & Garden
  • Recycled Crafts
  • Scrapbooking
  • Card Making
  • Polymer Clay
  • Cross-Stitch
  • Edible Crafts
  • Felting
  • Glass Art
  • Indie Crafts
  • Kids Crafts
  • Jewelry Making
  • Lesson Plans
  • Needlework
  • Bath & Body
  • Party Ideas
  • Candle Making
  • DIY Weddings
  • Not Craft
  • Free Craft Projects

Copyright © 2026 · CraftGossip | Start Here | Contact Us | Link to Us | Your Editors | Privacy and affiliate policy