If you’ve ever admired those beautifully textured felt scarves that look light as air but still cozy and warm, chances are they were made using the nuno felting technique. This week’s Free Felting Tutorial Friday comes from Ruth Lane, who breaks down the basics of nuno felting in such an approachable way that you’ll be itching to grab your wool and silk before the kettle’s even boiled.
What Is Nuno Felting and Why You’ll Love It
Nuno felting is all about blending the softness of wool with the delicate drape of fabric — usually silk chiffon or gauze. When you combine the two, the wool fibers migrate through the weave of the fabric, binding together as you felt. The result? A light, rippled, and beautifully textured piece of fabric that feels just as elegant as it looks.
It’s perfect for scarves, wraps, and artful accessories that move and flow rather than feeling stiff or bulky. Think wearable art that’s handmade, cozy, and utterly unique.
Ruth’s tutorial walks you through everything — from choosing the right fabric to layering your wool evenly and understanding when the fibers have “grabbed.” You’ll get that satisfying transformation from fluffy wool to a soft, pebbled surface that’s ready to drape, sew, or even hang as wall art.
Step-by-Step Highlights
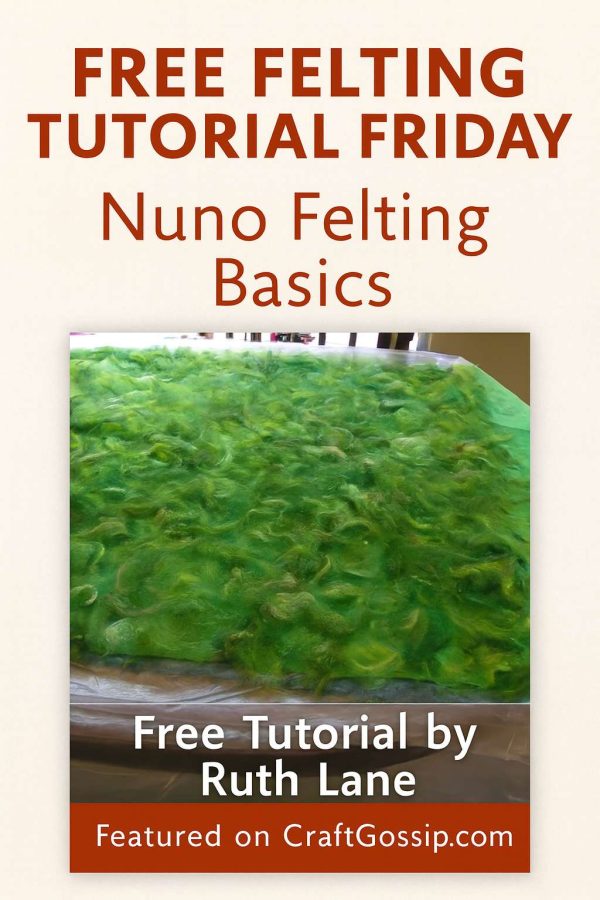
You’ll start by laying your silk out on a plastic-covered surface (bubble wrap works great). Then, gently draft thin wisps of merino wool and layer them on top — just enough to cover, but not so thick that you lose the fabric’s movement.
Add warm soapy water, cover with netting, and begin to gently press and massage. The magic begins when the fibers start working through the fabric — you’ll actually feel the wool gripping!
Once things start to bind, it’s time to roll it up around a pool noodle or dowel. Roll in different directions every hundred or so turns to keep things even. When your fabric starts to shrink and hold together nicely, you can move to the “fulling” stage — tossing, rubbing, and rinsing until you reach that perfect soft-yet-structured texture.
Ruth’s biggest tip? Go light. The thinner your wool layer, the more beautiful and flexible your finished piece will be. And don’t forget to let a few fibers run slightly past the silk edges — that keeps everything tidy and prevents fraying.
For the full tutorial and process photos, visit The Basics of Nuno Felting by Ruth Lane — it’s the perfect beginner’s project if you’ve been wanting to dip your toes (or hands) into the world of nuno felting.
Stay tuned for next week’s Free Felting Tutorial Friday — another fiber-filled project to inspire your creative weekend!