There’s something comforting about a stack of old wool scarves — the kind that live at the back of your winter drawer, full of memories but not quite wearable anymore. Maybe they’ve gone fuzzy, shrunk a little, or just don’t match your current style. Don’t toss them just yet!
Felting gives those forgotten scarves a second life. With a bit of warm water, soap, and wool roving, you can turn them into gorgeous new creations — from cozy accessories to artful home décor. Whether you’re a beginner or a seasoned felter, these ideas are easy, creative, and deeply satisfying.
Here are 10 beautiful ways to upcycle your old wool scarves using wet and needle felting techniques.
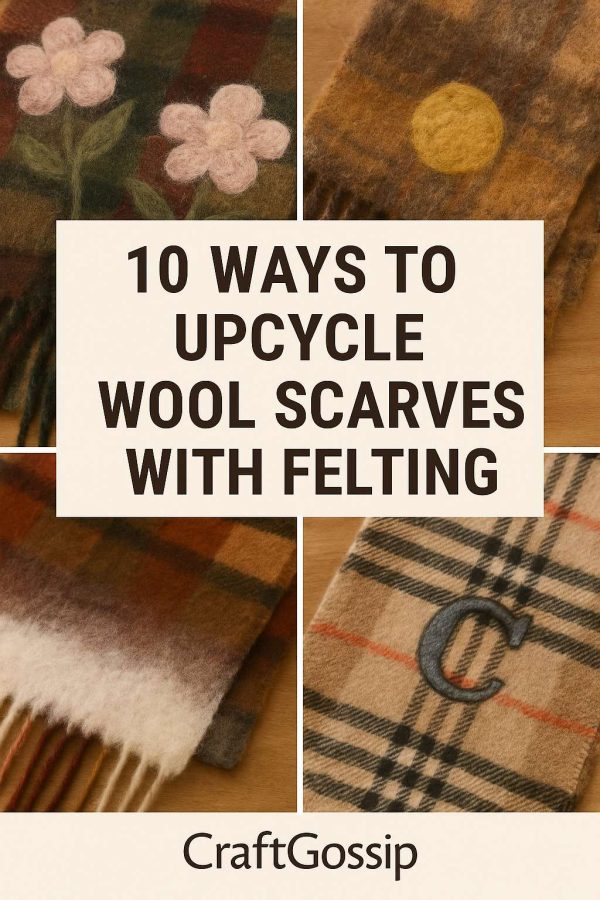
1. Felted Flower Clusters
There’s no easier way to give an old plaid scarf new charm than by adding small felted flower clusters.
How to:
- Use small tufts of colored roving (rose, cream, or sage) to form petals.
- Needle felt them onto your scarf in groups of three or five near the ends or corners.
- Add a touch of green roving for leaves.
The flowers blend beautifully with tartan patterns, softening the look while adding texture.
Perfect for: feminine scarves, vintage wool, and visible mending.
2. Ombre Felt Fade
If your scarf feels too “flat,” add a color transition! Wet felting soft layers of colored roving along one edge creates a dreamy ombre effect.
How to:
- Lay your scarf on bubble wrap.
- Add thin tufts of wool in graduated shades (like cream to burgundy).
- Wet felt gently until the fibers fuse.
The result looks hand-dyed — modern, subtle, and perfect for updating dull old wool.
Pro Tip: Try soft blues or greys for a coastal winter look.
3. Felted Patch Repairs (Visible Mending)
A few moth holes or worn spots don’t mean a scarf’s done for. Patch them with style!
How to:
- Cut small circular or heart-shaped felt patches from scrap felt or roving.
- Needle felt them directly over damaged areas.
- Add simple embroidery stitches around the edges for a handmade finish.
Visible mending celebrates imperfection — and each repair becomes part of your scarf’s story.
Perfect for: sentimental pieces you don’t want to discard.
4. Felted Edges & Fringes
Some scarves fray over time, especially woven ones. Reinforce and style them by felting the edges and fringes.
How to:
- Add a little soap and water to the ends of your scarf.
- Roll gently between your palms or a bamboo mat until fibers tighten.
- Optionally, blend in a contrasting color along the edges.
You’ll end up with neat, slightly thicker borders that look artisanal — like something from a boutique.
5. Nuno-Felted Appliqué
For a painterly effect, add felted shapes and motifs directly onto the scarf’s surface.
Try designs like:
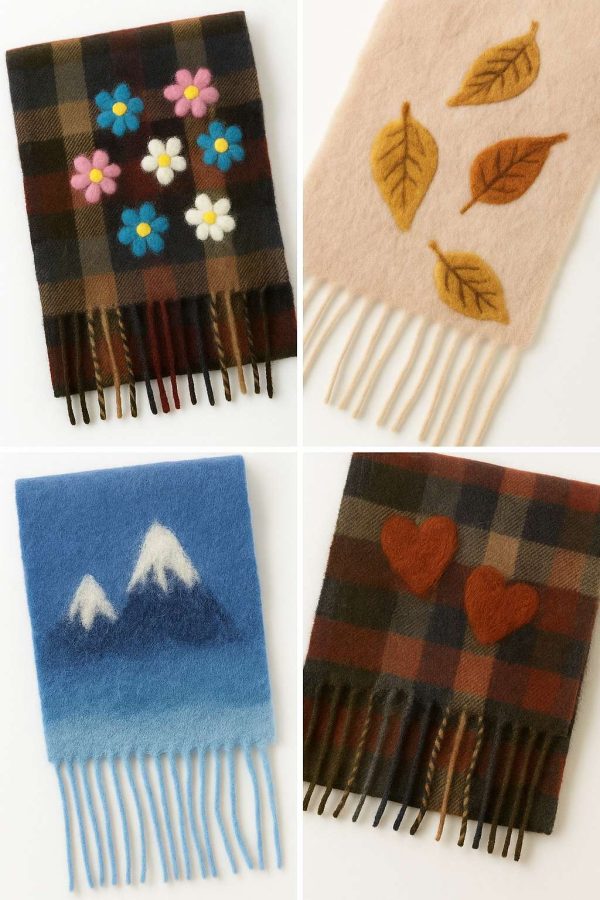
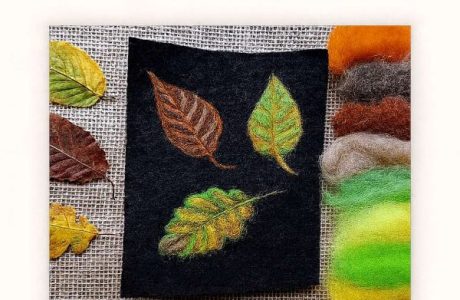
- Autumn leaves
- Circles and spirals
- Minimalist abstract shapes
Gently needle felt them into place, then lightly wet felt to secure and smooth the edges.
This technique works especially well on thinner wool or blends — you get an artful look without losing drape.
6. Felted Bead Embellishments
Felt beads aren’t just for jewelry! You can use them as tactile accents on your scarf.
How to:
- Wet felt small wool beads in matching or contrasting colors.
- Stitch or needle felt them in rows along the fringe or as decorative “buttons.”
They add playful, boho texture — and they’re a wonderful way to use leftover roving.
Perfect for: upcycling children’s scarves or making gift sets.
7. Nature-Inspired Felt Collage
Turn one end of your scarf into a small piece of wearable art.
How to:
- Layer green, blue, and brown roving to create hills or landscapes.
- Add wisps of white for clouds or snow.
- Wet felt gently so the fibers fuse but the base pattern still shows through.
This turns your scarf into something sculptural and expressive — like a textile painting you can wear.
8. Layered Texture Panels
If you love texture, this one’s for you. Add small rectangular “panels” of wool roving to create layered, quilt-like sections on your scarf.
How to:
- Arrange tufts or pre-felt pieces in blocks.
- Lightly wet felt to attach them.
- Leave the edges slightly raised for a 3D effect.
It gives old scarves a tactile, high-end look — ideal for turning into table runners or wall hangings later on.
9. Felted & Embroidered Details
Combine felting with embroidery for stunning mixed-media effects.
How to:
- Needle felt simple shapes (like petals, stars, or hearts).
- Once dry, outline them with colorful thread using running or blanket stitches.
The contrast between soft felt and crisp stitches adds a handmade, folk-art charm that’s perfect for rustic décor or wearable gifts.
10. Monogrammed or Personalized Designs
Add a personal touch to your upcycled scarf by felting your initials, a small motif, or even a date.
How to:
- Use a stencil or lightly draw your design with chalk.
- Fill in with fine wool roving and needle felt carefully.
It’s a thoughtful idea for gifts or keepsakes — especially when using family heirloom scarves.
Bonus Ideas for Extra Wool Scarves
Once you’ve fallen in love with felting scarves, you can use the same technique for:
- Wool blanket squares
- Old sweater sleeves turned into cuffs
- Wool coat scraps for patchwork projects
The possibilities are endless once you realize wool isn’t waste — it’s a new beginning.
Felting old wool scarves is about more than craft — it’s a way to reconnect with the tactile, mindful side of creativity. You’re saving textiles from landfill, transforming memories into art, and giving yourself something handmade to wear or share.
So dig through your winter stash, find that forgotten tartan or plain wool scarf, and give it a new story — one felted petal, patch, or fringe at a time.
Leave a Reply