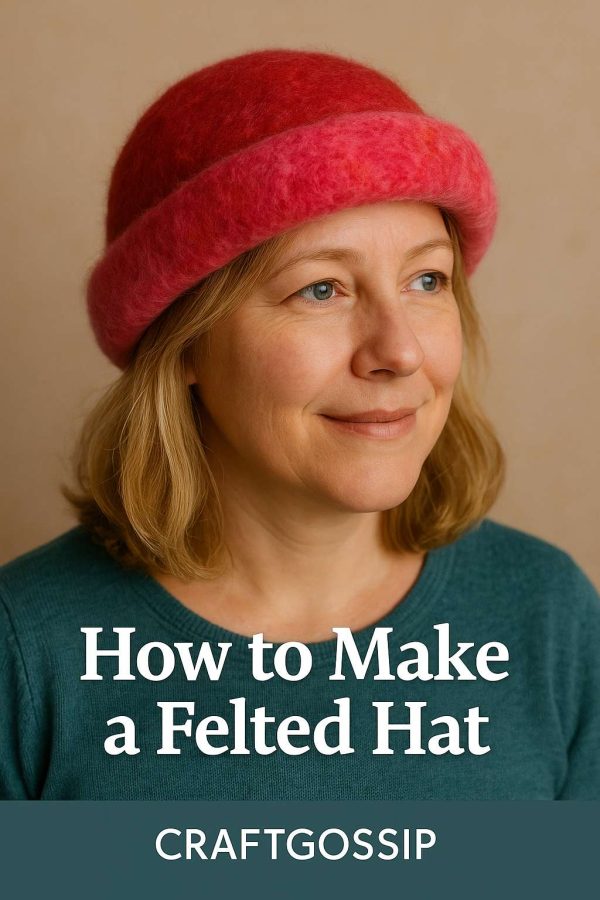
If you’ve ever dreamt of making your own soft, perfectly shaped felted hat, you’re in for a treat. This project combines the meditative rhythm of felting with the satisfaction of creating a wearable piece of art — and no, you don’t need a fancy hat block or decades of millinery experience.
I started felting hats years ago when my wool stash started taking over the craft room. One cold winter weekend (and a forgotten load of wet wool in the laundry), I decided to give a proper felted hat a go. What I discovered? With just warm water, soap, and a bit of persistence, you can turn fluff into fashion.
What You’ll Need
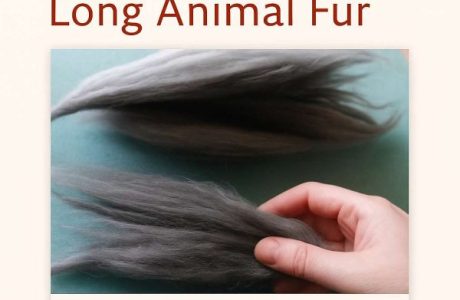
- Wool roving or batts – Merino, Corriedale, or any soft felting wool
- Resist – Plastic sheet, thin foam, or even bubble wrap cut into a rough head shape
- Warm soapy water – A dash of dish soap or olive oil soap works best
- Bubble wrap or bamboo mat – For rolling and agitation
- Towel and spray bottle – To control moisture
- Optional: A balloon, bowl, or mannequin head for shaping your finished hat
Step-by-Step: How to Felt a Hat That Fits
1. Prepare Your Resist
Cut your resist into a large oval or bell shape — about 30% bigger than your desired hat size to allow for shrinkage. Remember, felt shrinks more than you think!
2. Lay Out Your Wool
On one side of the resist, start layering your wool in even, thin sections, alternating the direction of each layer (horizontal, vertical, diagonal). For a medium hat, aim for about 4–6 layers in total.
Mist with warm soapy water as you go so the fibers cling together.
3. Wet It Down and Flatten
Once you’ve built your layers, cover with bubble wrap and press gently. You’re aiming for a smooth, even layer that hugs the resist.
4. Flip and Repeat
Turn the whole thing over, fold the edges neatly around the resist, and start layering the second side the same way. Keep both sides symmetrical for even felting.
5. Start Felting
Use your hands, a bamboo mat, or even a hand sander (if you’ve read my Wet Felting with a Sander tutorial), and begin rubbing in gentle circular motions. The fibers will start to lock together and shrink.
Keep it damp but not dripping — too much water can slow the felting process.
6. Shrink and Shape
When the fibers feel sturdy and the piece starts to pull tight around the resist, slice open the bottom edge (this becomes your brim opening) and remove the resist.
Now’s the magic part: stretch and shape your hat over a bowl, balloon, or mannequin head. Work the wool while it’s still warm and damp, gently rubbing to smooth the surface and tighten the crown.
7. Rinse, Dry, and Finish
Rinse with cool water to remove soap, roll in a towel to absorb excess moisture, and allow to air dry. Once dry, you can add decorative stitching, silk fibers, or a felted flower for a personal touch.
Tips for a Perfect Felted Hat
- Shrink slowly: Over-felting too fast can create uneven texture.
- Test fit often: Try it on (carefully!) while it’s damp for shaping.
- Add surface design early: Silk hankies, yarns, or prefelts fuse beautifully in the early rubbing stages.
- Don’t stress about perfection: Handmade felt loves a little character — uneven edges, natural texture, and organic shape all add charm.
Why This Method Works
This version of hat felting focuses on control and patience, giving you a durable, soft felt that holds its shape. Unlike machine or needle-felted hats, this one molds gently to your head, so it’s both practical and flattering.
Once you’ve mastered this, you can experiment with brims, cloches, or even full sculptural pieces — it’s a creative rabbit hole worth diving into.