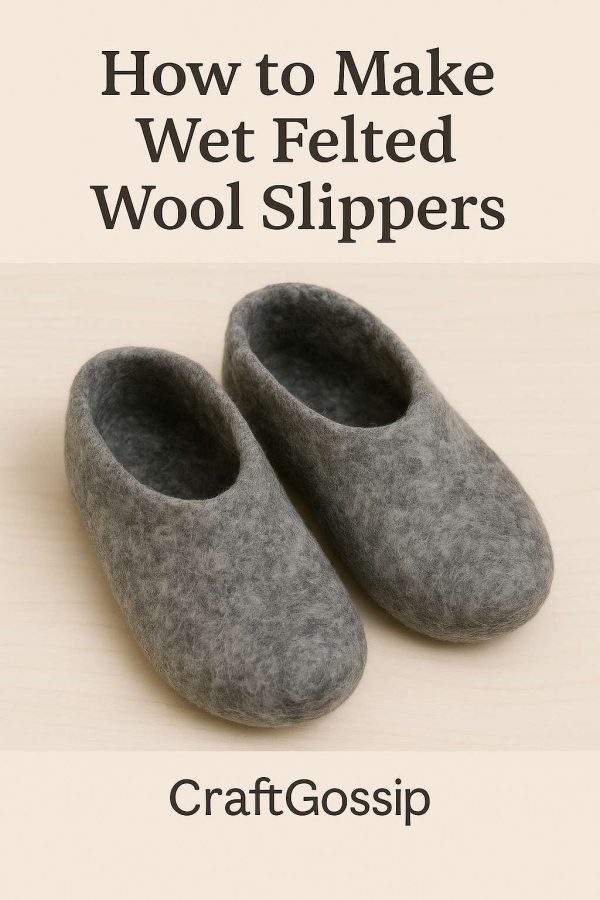
There’s nothing quite like slipping your feet into a pair of warm, soft, handmade felted booties — especially when you made them yourself.
This simple wet felting tutorial walks you through how to make snug, wool booties using just warm water, soap, and your hands. No knitting, no sewing — just beautiful, sculpted felt formed around your own foot template.
It’s the perfect project for winter crafting, and once you master the basics, you can adjust this pattern for everyone in the family.
What You’ll Need
Materials
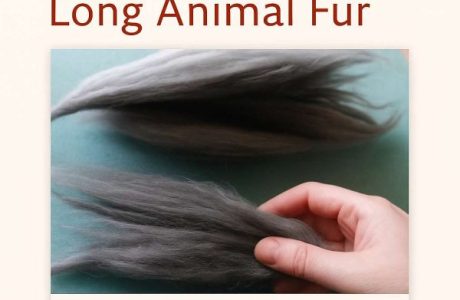
- 100–150 g fine Merino wool roving (21–23 micron, or any soft felting wool)
- Warm soapy water (a few drops of dish soap or olive oil soap in a bowl)
- Bubble wrap or bamboo mat
- Tulle/netting or fine mesh fabric
- Scissors
- Resist material (thin plastic, bubble wrap, or underlayment foam)
- Towels and sponge
- Measuring tape
- Optional: wool yarn or contrasting roving for decoration
Step 1. Create Your Bootie Template
Trace your foot (or the recipient’s) onto a piece of thin plastic or foam.
Add 2.5–3 cm (1–1.25 in) all the way around — this extra space accounts for shrinkage.
Cut two identical foot-shaped templates.
If you’re making booties with a cuff or ankle height, extend your template upward into a slipper-boot shape.
Step 2. Lay Out the Wool
Place your first template on bubble wrap.
Pull small wisps of wool and lay them evenly in overlapping layers across the template, extending about 2–3 cm beyond the edge.
Alternate the direction of the fibers for each layer — horizontal, then vertical.
Repeat for 2–3 thin layers to create an even base.
Mist lightly with warm soapy water to hold fibers in place.
Step 3. Add Decorative Layers
Now’s your time to add a bit of personality — swirl in stripes of colored wool, or add dots or spirals using contrasting shades.
If you want to include silk fibers or yarn, lay them on top for extra texture.
Step 4. Wet and Felt the First Side
Spray with soapy water, cover with tulle, and gently rub in circular motions for 5–10 minutes.
You’ll feel the fibers start to mesh.
Flip the whole piece over, fold in the overlapping edges, and repeat layers on the second side.
When both sides are evenly laid, wet again, rub, and ensure the edges are sealed.
Step 5. Start the Felting
Once the wool fibers begin to hold, place the bootie (still on the resist) into a bamboo mat or between bubble wrap layers.
Roll gently about 100 times, then unroll and turn 90°, and roll another 100 times.
Check that both sides are bonding evenly.
Step 6. Remove the Resist and Shape
When the felt feels cohesive and strong, cut a small slit at the ankle top and remove the resist.
Now slip your hand inside and start shaping the bootie, rubbing and stretching it to fit a rounded, natural shape.
If making two, compare them side by side to keep symmetry.
Step 7. Fulling (Hard Felting)
To tighten and strengthen the booties, rinse in alternating hot and cold water.
Toss and squeeze gently to help shrink the fibers further.
The booties will become dense and firm but remain soft and flexible.
Try them on while damp — this helps mold them perfectly to your feet.
Step 8. Rinse and Dry
Once you’re happy with the shape, rinse thoroughly, roll in a towel to absorb excess water, and air dry overnight.
Optional Finishing Touches
- Add needle-felted details or wool embroidery for decoration.
- Sew on a leather or felt sole for durability.
- Add a felted cuff or button strap for a snug ankle fit.
Sizing & Shrinkage Notes
| Bootie Size | Template Length Before Felting | Shrinkage | Finished Fit |
| Small (women) | 32 cm (12.5 in) | ~25–30% | Fits size 6–7 |
| Medium | 34 cm (13.5 in) | ~30% | Fits size 8–9 |
| Large (men) | 37 cm (14.5 in) | ~30–35% | Fits size 10–11 |
Tip: Always make a small felt swatch to test shrinkage before laying out your booties.
Why This Project Works
Wet felting around a resist gives you a seamless, sculpted slipper that fits comfortably and looks handmade — in the best way.
Because the booties are formed from loose fibers, there are no seams, no knitting, and no stiff spots — just pure wool comfort.
Once you’ve made one pair, you’ll start experimenting with dyes, patterns, and shapes.
Care Instructions
Hand wash in cool water, reshape, and air dry.
Do not machine wash — unless you’re trying to make them doll-sized!
Keywords naturally included:
felted wool booties, wet felted slippers, how to make felted booties, beginner wet felting project, wool resist felting, seamless felt slippers, DIY wool footwear, handmade felt shoes, easy felting tutorial, craftgossip felting.