If you’ve ever stood in front of a wall of wool at your favorite craft store, feeling completely overwhelmed by labels like roving, batts, tops, and carded fleece, you’re not alone. Every felter, from curious beginner to seasoned wool sculptor, has had that “what on earth do I buy?” moment.
Choosing between wool batt and wool roving can dramatically change how your project turns out — not just in texture and finish, but also in how easy the felting process feels in your hands. The truth is, both are wonderful; they just behave differently. Understanding those differences will help you save time, avoid frustration, and get the exact results you want from your needle or wet felting projects.
Let’s break down what each type of wool prep is, when to use it, and how to get the most out of it.
What Is Wool Roving (Combed Top)?
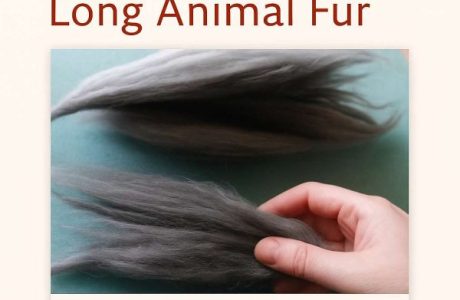
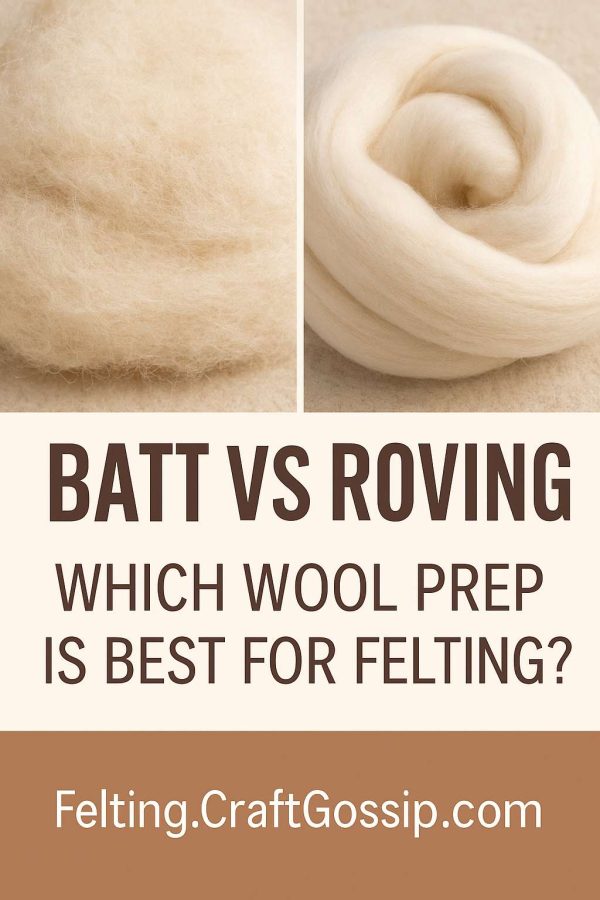
When most beginners picture felting wool, they’re thinking of roving — those long, beautiful ropes of fiber wound into neat rolls or hanks. Wool roving, often labeled as combed top, has been carefully processed so that all the fibers lie parallel in the same direction.
This makes it:
- Smooth and sleek to the touch.
- Perfect for surface layers, blending colors, or creating delicate details.
- Less likely to trap air, which helps create firm, even felts.
Because the fibers are aligned, roving tends to produce a smoother, more polished finish. That’s why it’s so popular among wet felters and spinners. When laid in layers for wet felting, the uniformity ensures consistent shrinkage and strength. When spun, it produces even, predictable yarn.
However — and here’s where beginners often get frustrated — those same aligned fibers don’t tangle as easily when dry-felting. It takes more stabbing (and patience!) to build firmness with roving alone.
When to Use Roving
- Wet felting scarves, bags, and fine art pieces.
- Needle felting surface details, fur, or color blending.
- Adding smooth top layers over a batt or core.
- Creating thin, even layers in nuno felting.
Think of roving as your “finishing touch” fiber — the one you use when you want refinement, subtle shading, or flowy drape.
What Is a Wool Batt?
A wool batt is what happens when carded fibers skip the combing stage. Instead of being perfectly aligned, the fibers criss-cross in every direction, creating a light, airy mat. Batts are usually formed in large sheets, almost like a fluffy quilt of wool.
This random structure makes batts:
- Loftier and more voluminous.
- Easier to needle felt because the fibers catch each other quickly.
- Ideal for fast felting and core building.
Batts are the go-to choice for needle felting sculptures because they compact easily into dense, firm shapes. You can pull off chunks, roll them loosely, and start felting immediately.
They’re also fantastic for wet felting structural pieces like bowls, slippers, and bags because they felt down fast and evenly — perfect when you want a solid, durable result.
When to Use Batts
- Needle felting animals, dolls, or large sculptural forms.
- Wet felting thicker items (bowls, rugs, slippers).
- Making fast cores to cover later with detail fiber.
- Creating textured or rustic surfaces.
Batts are like the bread dough of the felting world — soft, forgiving, and endlessly shapeable.
Batt vs Roving: Key Differences
Here’s a quick visual guide to help you choose at a glance:
| Feature | Batt | Roving (Combed Top) |
| Fiber Alignment | Random | Parallel |
| Texture | Fluffy, matte | Smooth, shiny |
| Felting Speed | Fast | Slower |
| Best For | Needle felting, core building | Wet felting, finishing |
| Finish | Textured, rustic | Smooth, refined |
| Shrinkage | Quick, strong | Even, controlled |
| Ease for Beginners | Very easy | Slight learning curve |
Why Batt Felts Faster
Felting happens when the tiny microscopic scales on wool fibers open, tangle, and lock together through motion and moisture. Because batts have fibers going in every direction, they grab onto each other at more points. That’s why a few minutes of needle poking on a batt feels instantly rewarding — it firms up quickly.
Roving fibers, on the other hand, are all running the same way, so there’s less cross-direction friction. It takes longer for them to grab and compact, which is why roving often needs more stabbing or agitation to reach the same density.
Combining Both for Professional Results
Experienced felters rarely use just one fiber prep. The real magic happens when you combine batt and roving:
- Use batt for the inner core — it’s fast and builds shape.
- Layer roving on top — it smooths and polishes the surface.
This technique is especially useful for needle-felted animals or dolls where you want a firm base but soft, realistic surface details. It also saves money — batts are often more affordable and economical for bulk work.
Best Fiber Types in Each Prep
You can buy both batts and roving in different wool breeds, but certain combinations shine:
| Wool Type | Best Prep | Why |
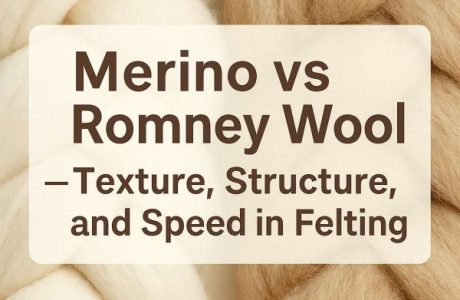
| Corriedale | Batt or Roving | Excellent all-rounder; medium fiber length makes it versatile. |
| Merino | Roving | Fine, soft fibers create smooth wet-felted surfaces. |
| Shetland | Batt | Slightly coarser texture ideal for sculptural or rustic work. |
| Gotland | Roving | Beautiful lustre and drape in wet felting. |
| Romney | Batt | Great for sturdy projects like bowls and slippers. |
Troubleshooting Common Felting Issues
If your wool isn’t behaving, it might not be your technique — it might be the prep.
- Problem: Wool isn’t felting down or feels too slippery.
Cause: You’re using roving that’s too fine or slick (like superwash or high-micron Merino).
Fix: Switch to a batt or mix in coarser fibers. - Problem: Your project feels lumpy or uneven.
Cause: Inconsistent layering in wet felting, often from batt clumps.
Fix: Blend fibers before laying out or combine a batt base with a roving overlay. - Problem: Surface fuzz after felting.
Cause: Batt fibers poking through a smooth top layer.
Fix: Lightly shave or needle the surface once dry for a clean finish.
Caring for and Storing Your Wool
Whether batt or roving, your wool deserves gentle care. Store it in breathable cotton or linen bags away from direct sunlight and humidity. Avoid plastic, which traps moisture and invites moths. A few lavender sachets never hurt either — plus, they make your felting stash smell wonderful.
Pro tip: keep smaller offcuts and leftover bits! They’re perfect for blending colors, patching holes, or testing new techniques.
FAQ: Batt vs Roving for Felting
Can I needle felt with roving?
Absolutely — it just takes longer. Use roving for fine details, color blending, or wrapping core shapes.
Can I wet felt with batts?
Yes, and it’s actually faster than roving. Batts make dense, structural felt — ideal for 3D forms.
Can I mix batt and roving together?
Definitely! Start with a batt base, then finish with roving. The batt gives structure; the roving adds polish.
Does wool type matter more than prep?
Sometimes. Breed, fiber length, and micron count play a huge role, but the prep still determines how the wool handles during felting.
Sustainability Note: Choosing Local or Ethical Wool
When possible, choose locally sourced or ethically produced wool. Not only does this support small farms and reduce carbon footprint, but you’ll also notice higher quality and cleaner fibers. Many felters love using breed-specific fibers to celebrate regional heritage — a beautiful way to make your craft both sustainable and meaningful.
The best wool prep isn’t about rules — it’s about results. If you want fast felting and texture, reach for a batt. If you want silky surfaces and fine control, go with roving. And when in doubt, mix the two and see what happens. Felting is as much about discovery as it is about technique.
Remember: every project teaches your hands something new. Try both preps on small samples, keep notes on how they behave, and you’ll quickly develop your own “fiber intuition.” That’s the real secret to beautiful felt — experience, not perfection.